Removal
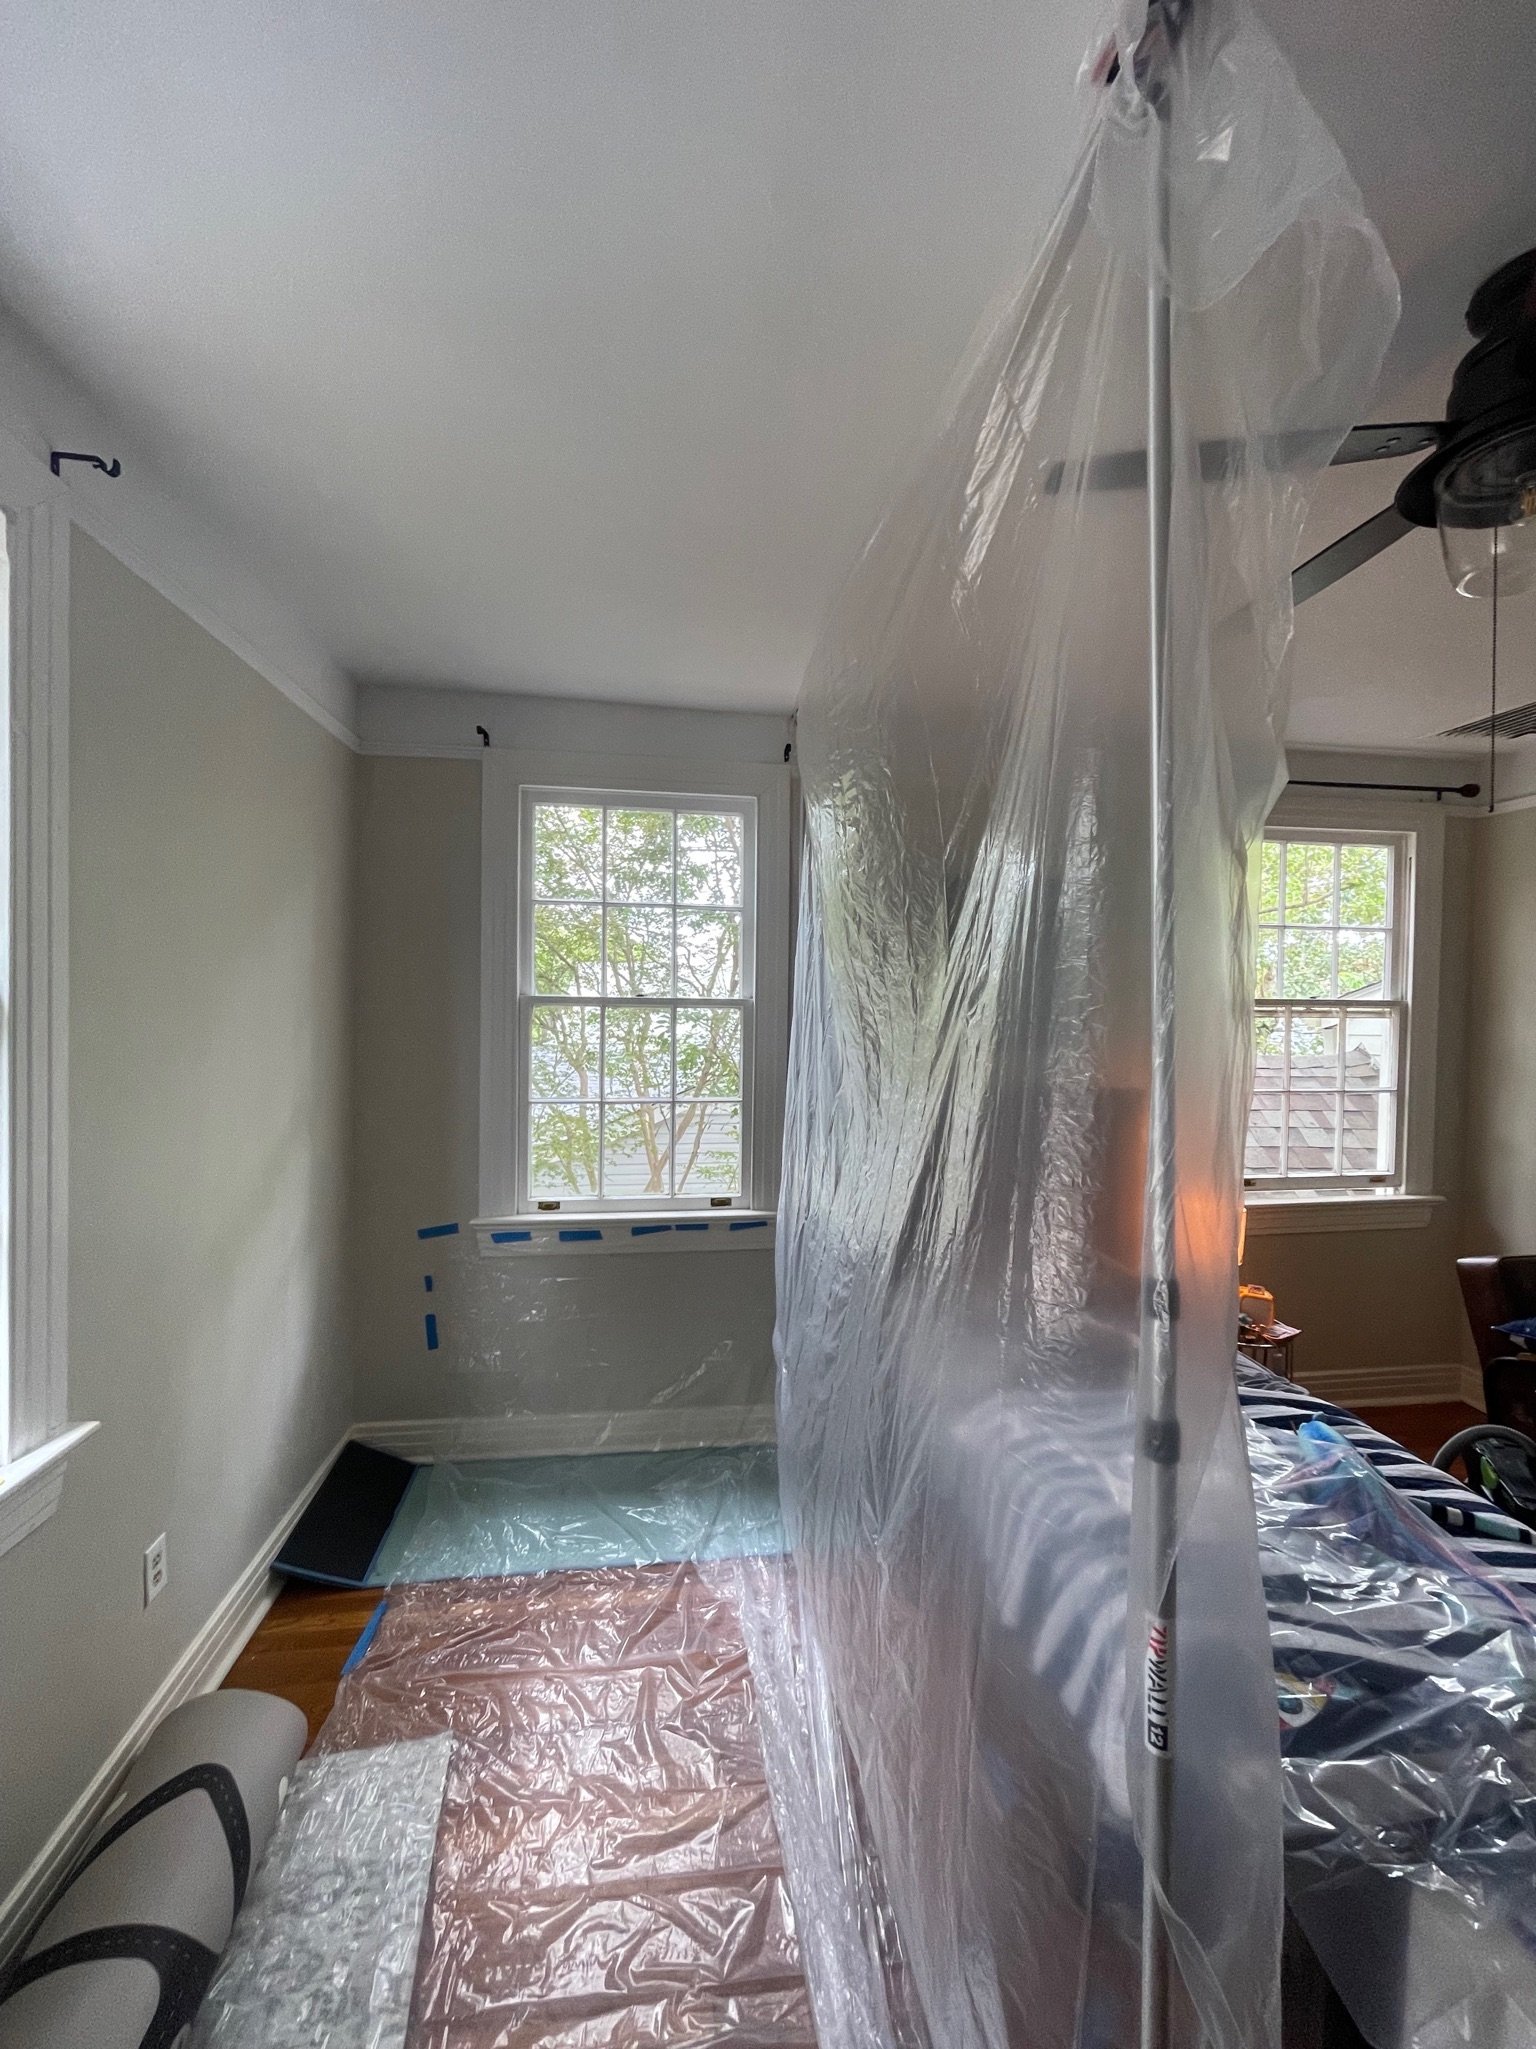
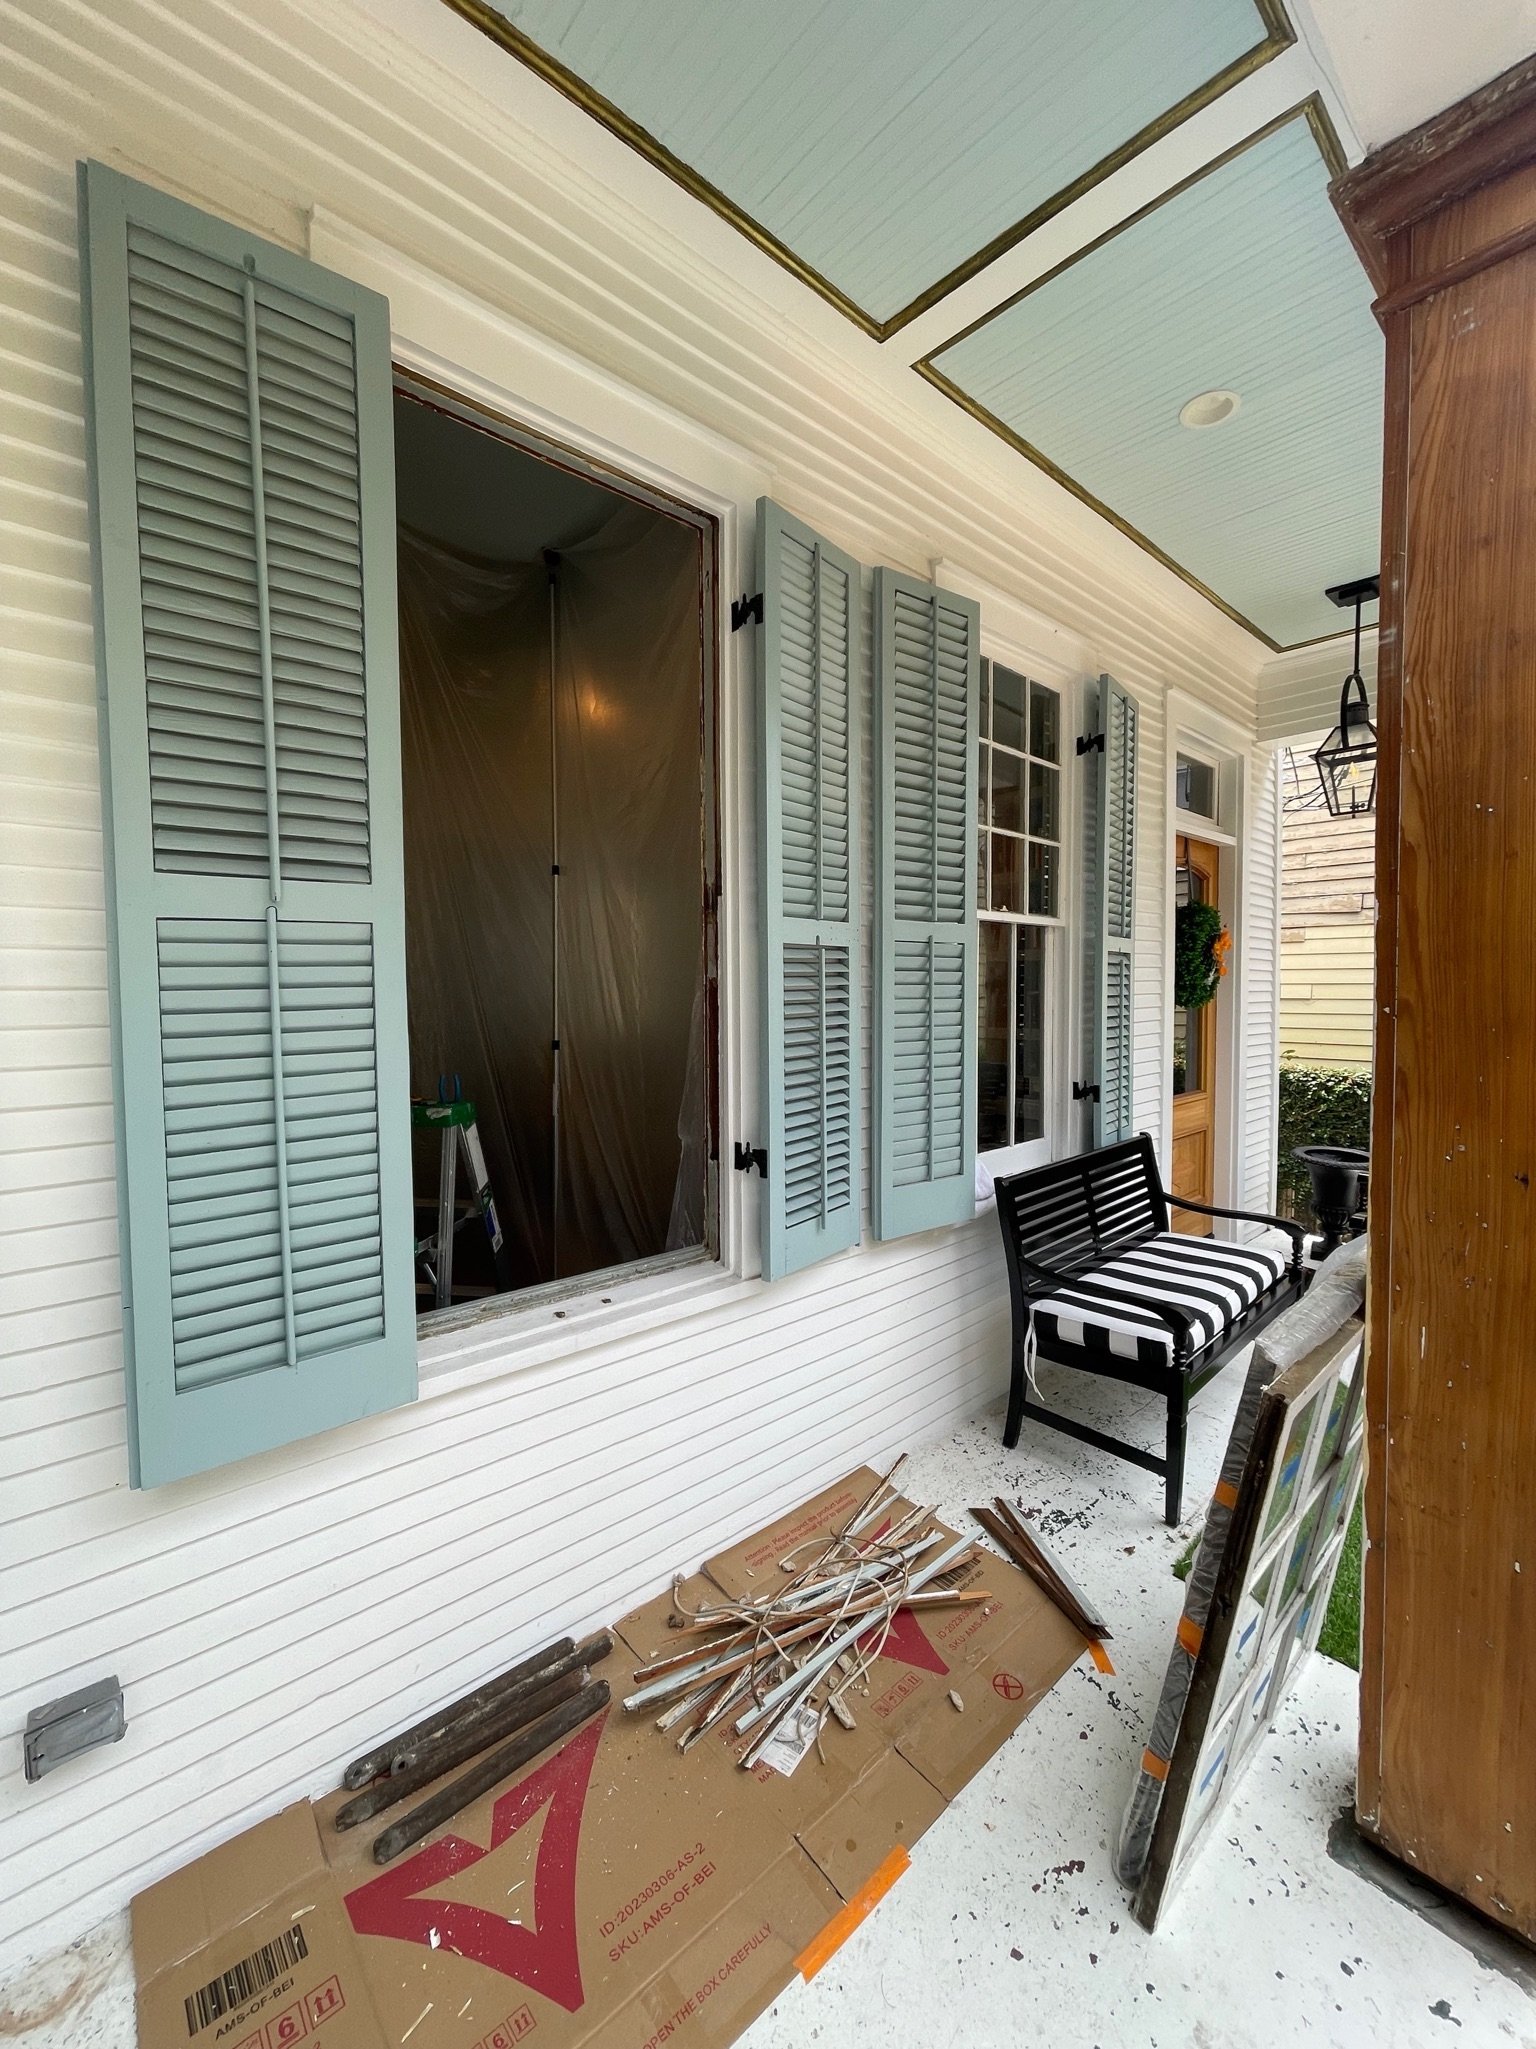
Containment is the first step to protect all parts of the room and to simplify the clean up process.

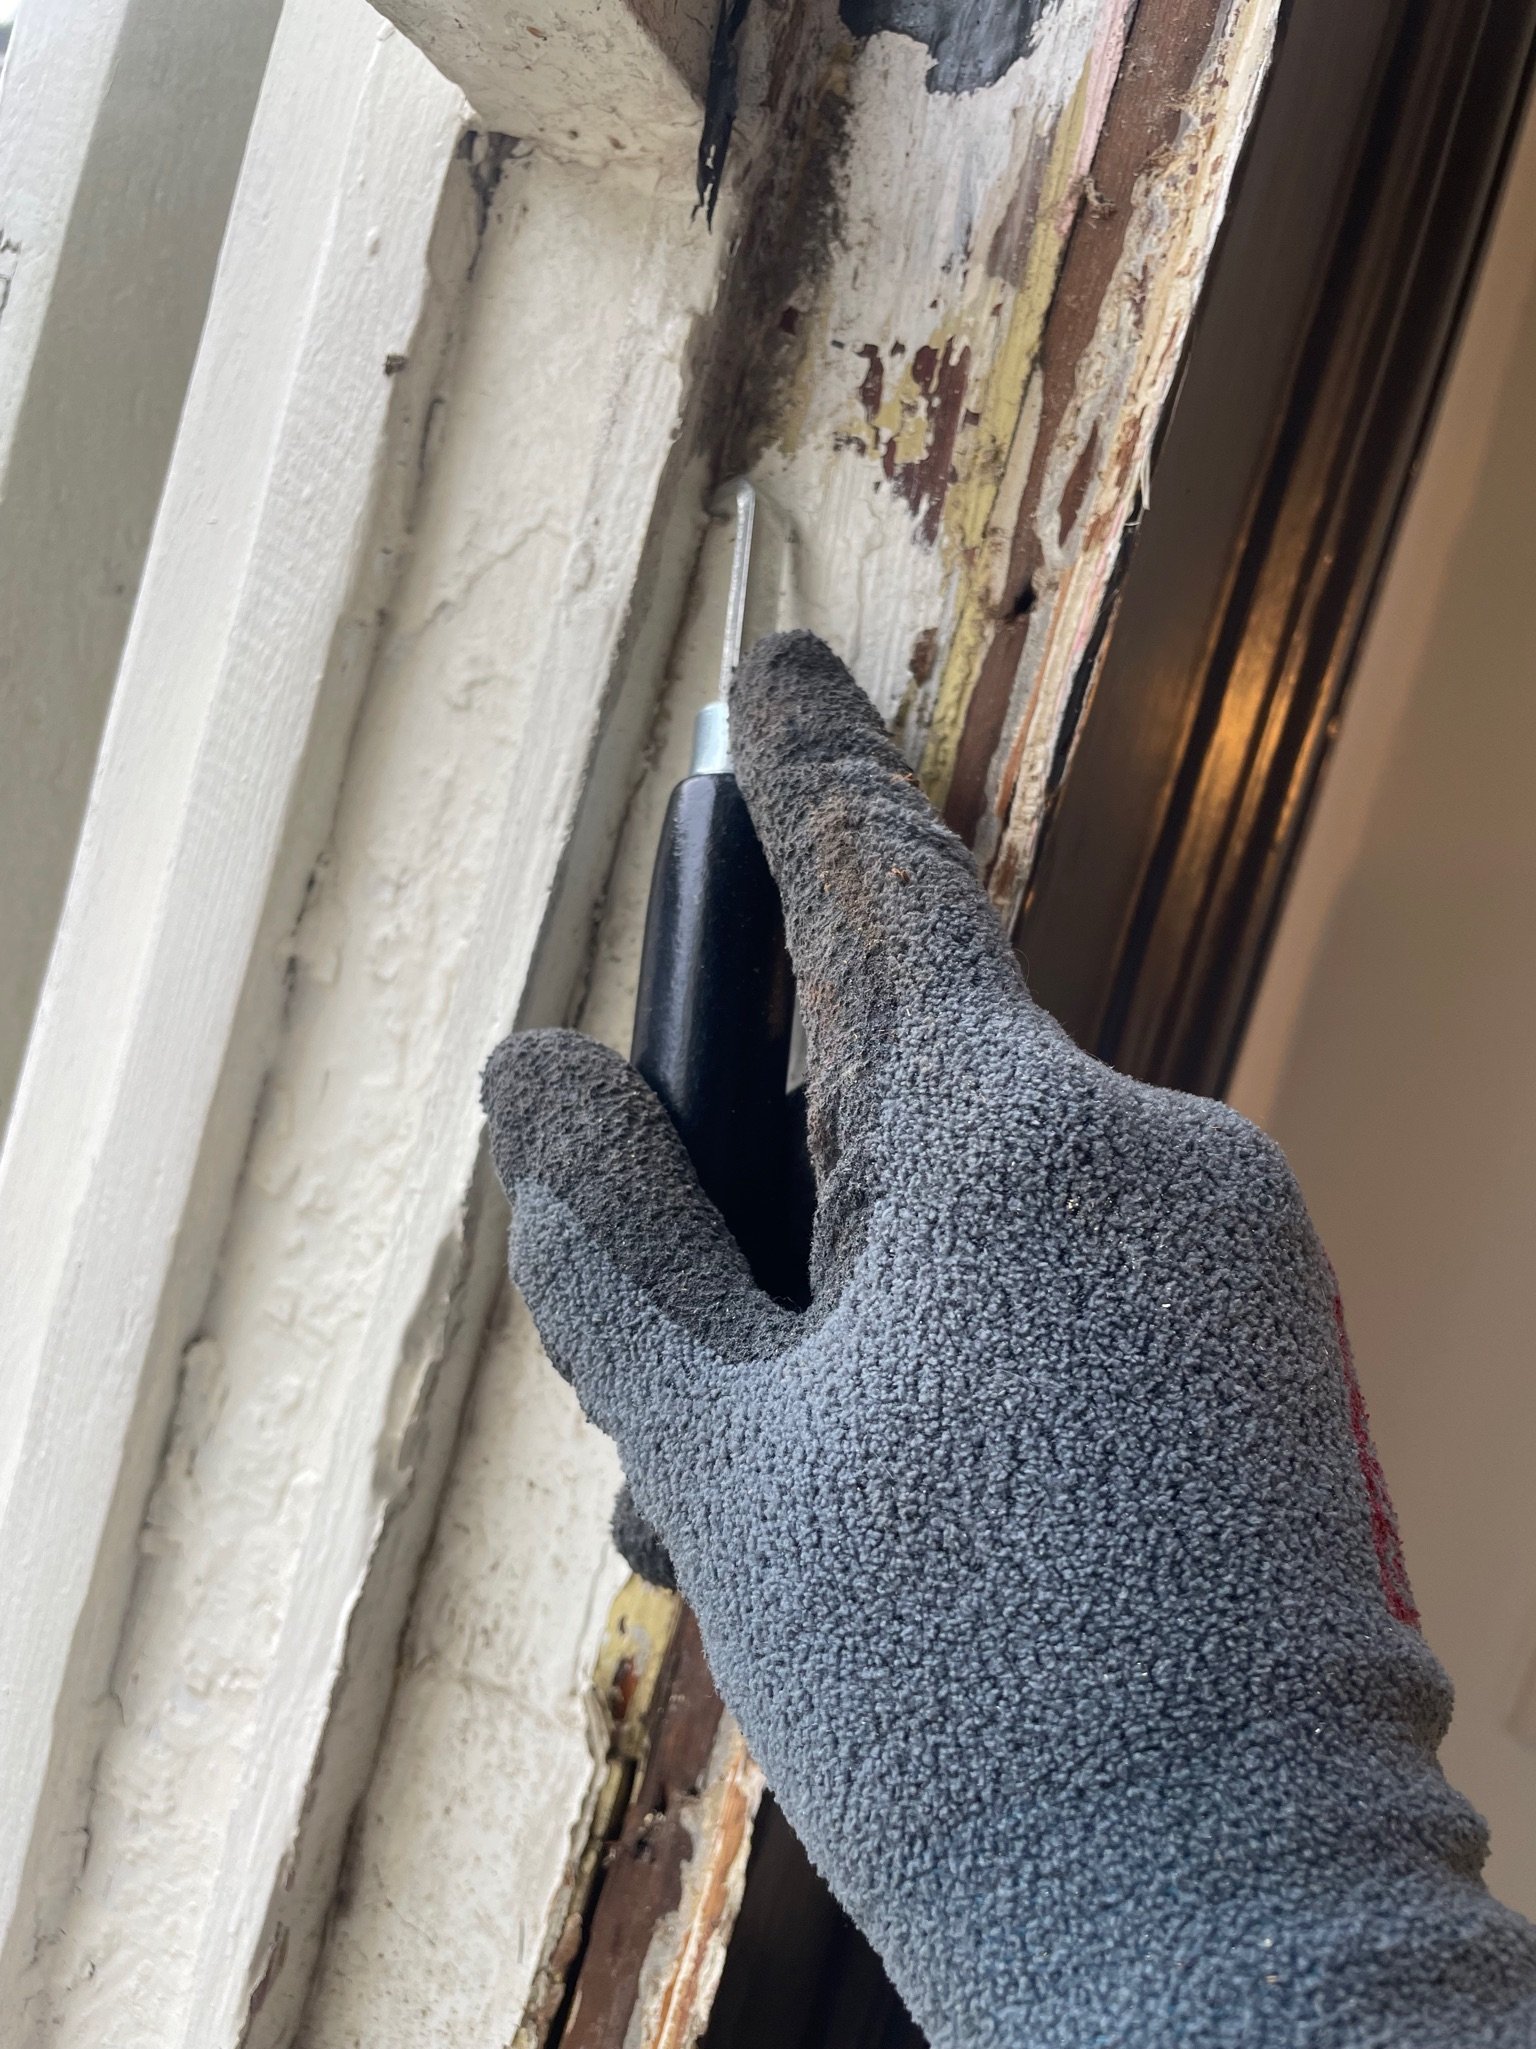
Window stop removal

Window stop removal. The bottom sash can now be removed, pending scraping of any caulk or paint that may be sticking it in place.

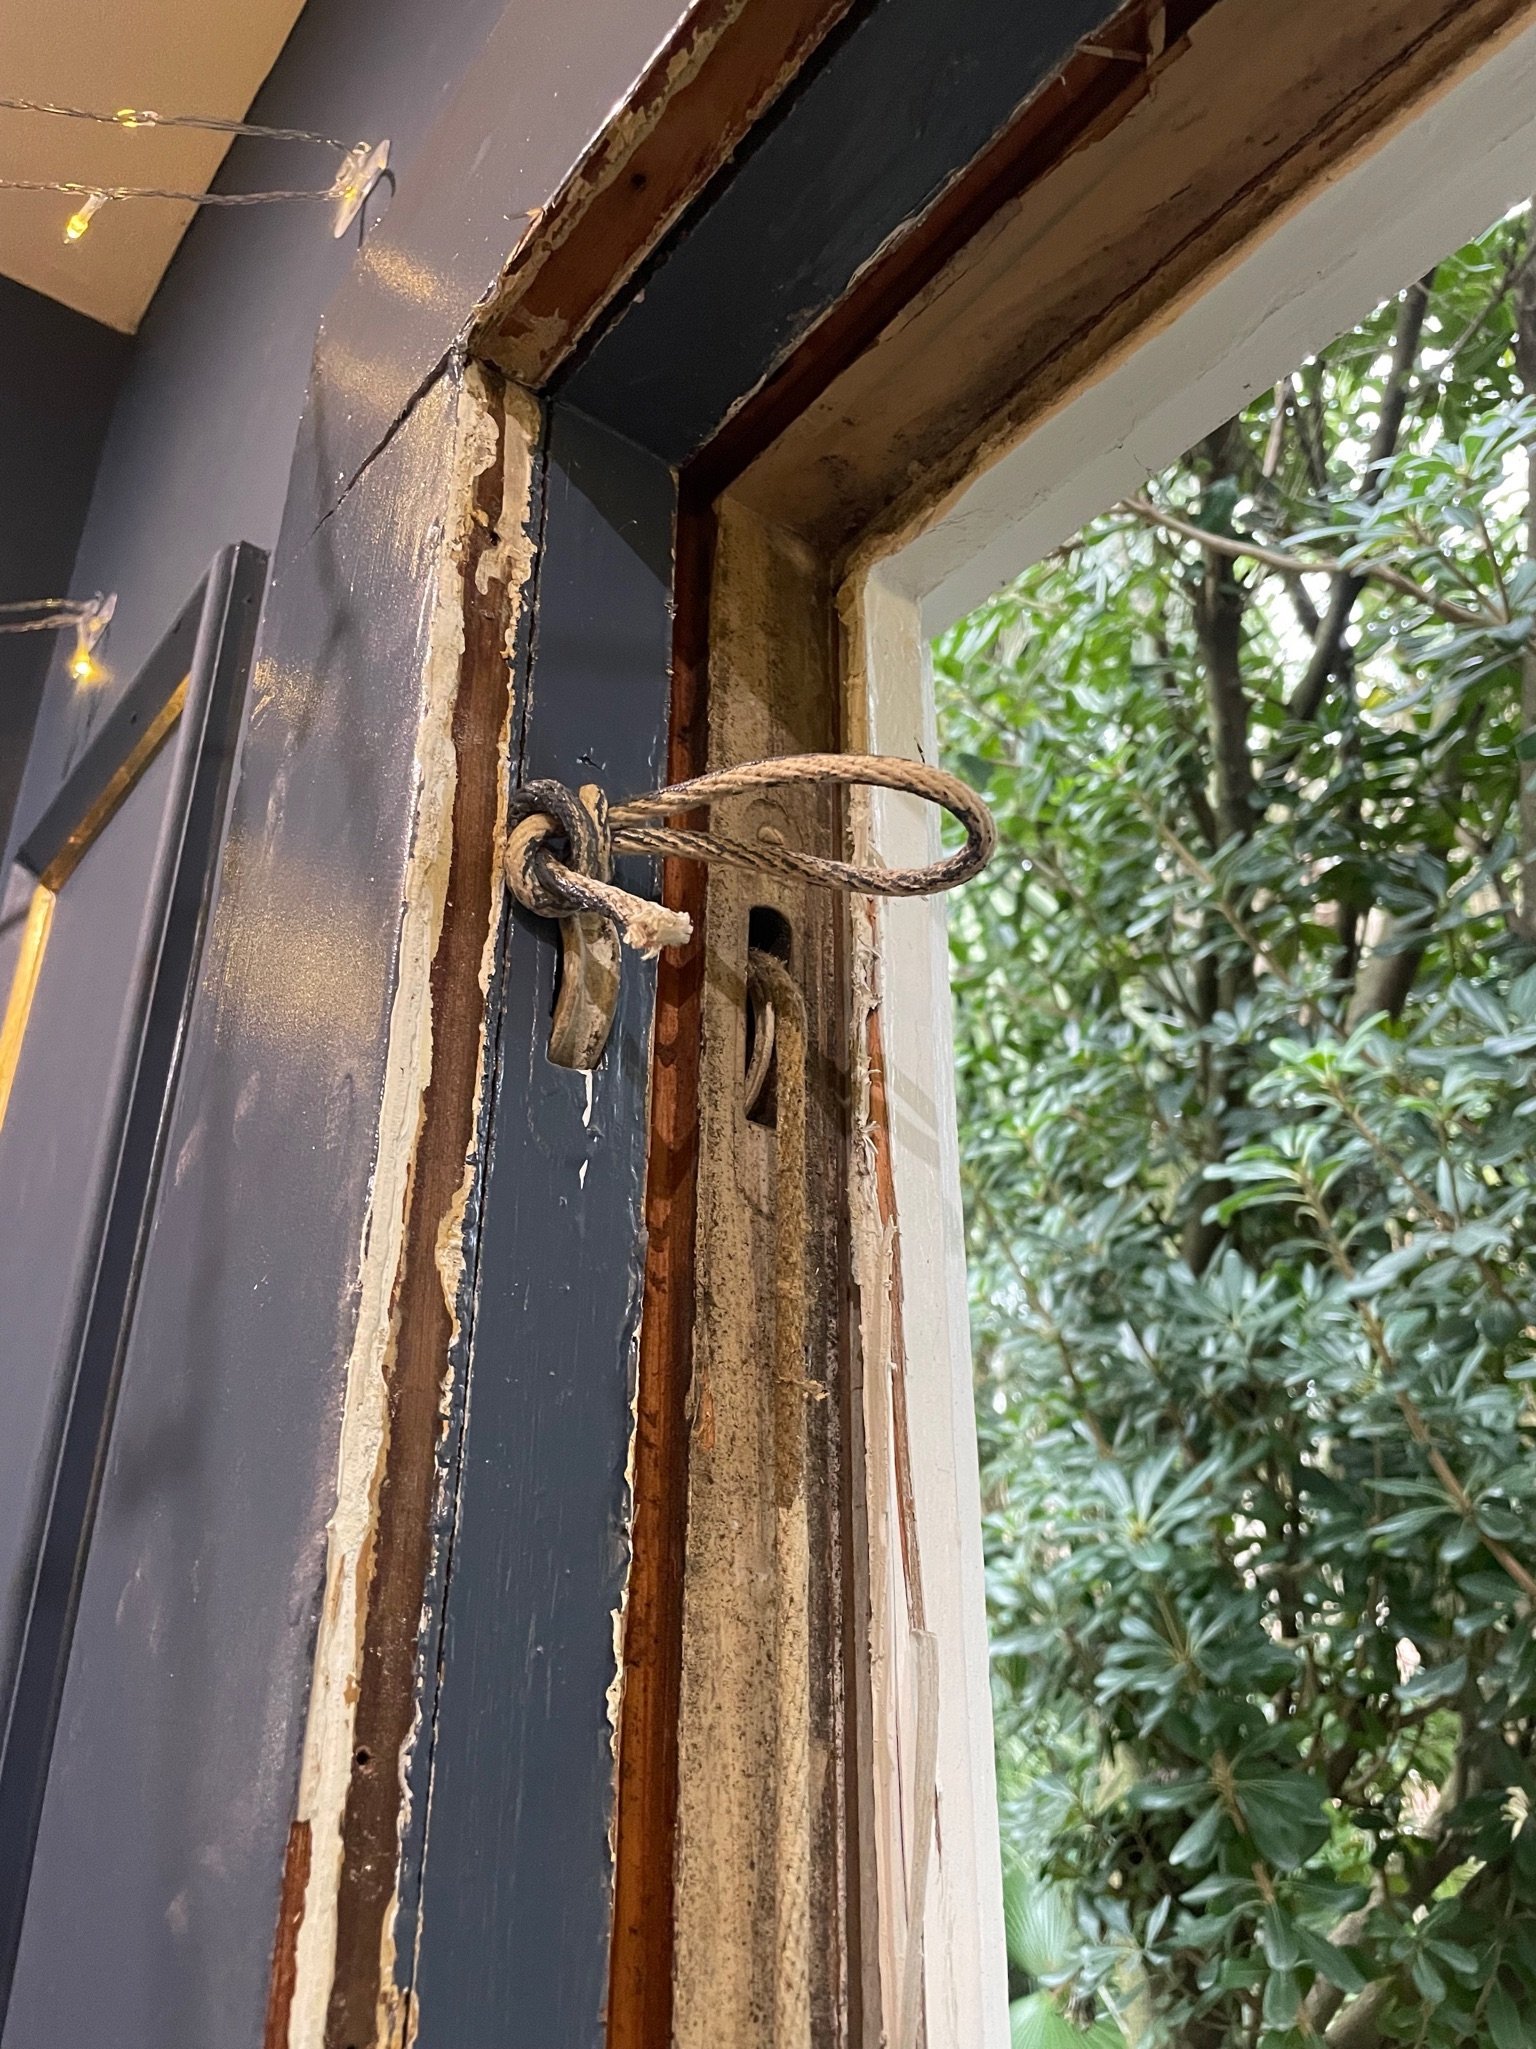
Parting bead removal, to free the upper sash. This one's a goner.
Parting bead removal, to free the upper sash. This is is where the real destruction begins.

Blind stop removal. Not long for this world, I'm afraid.
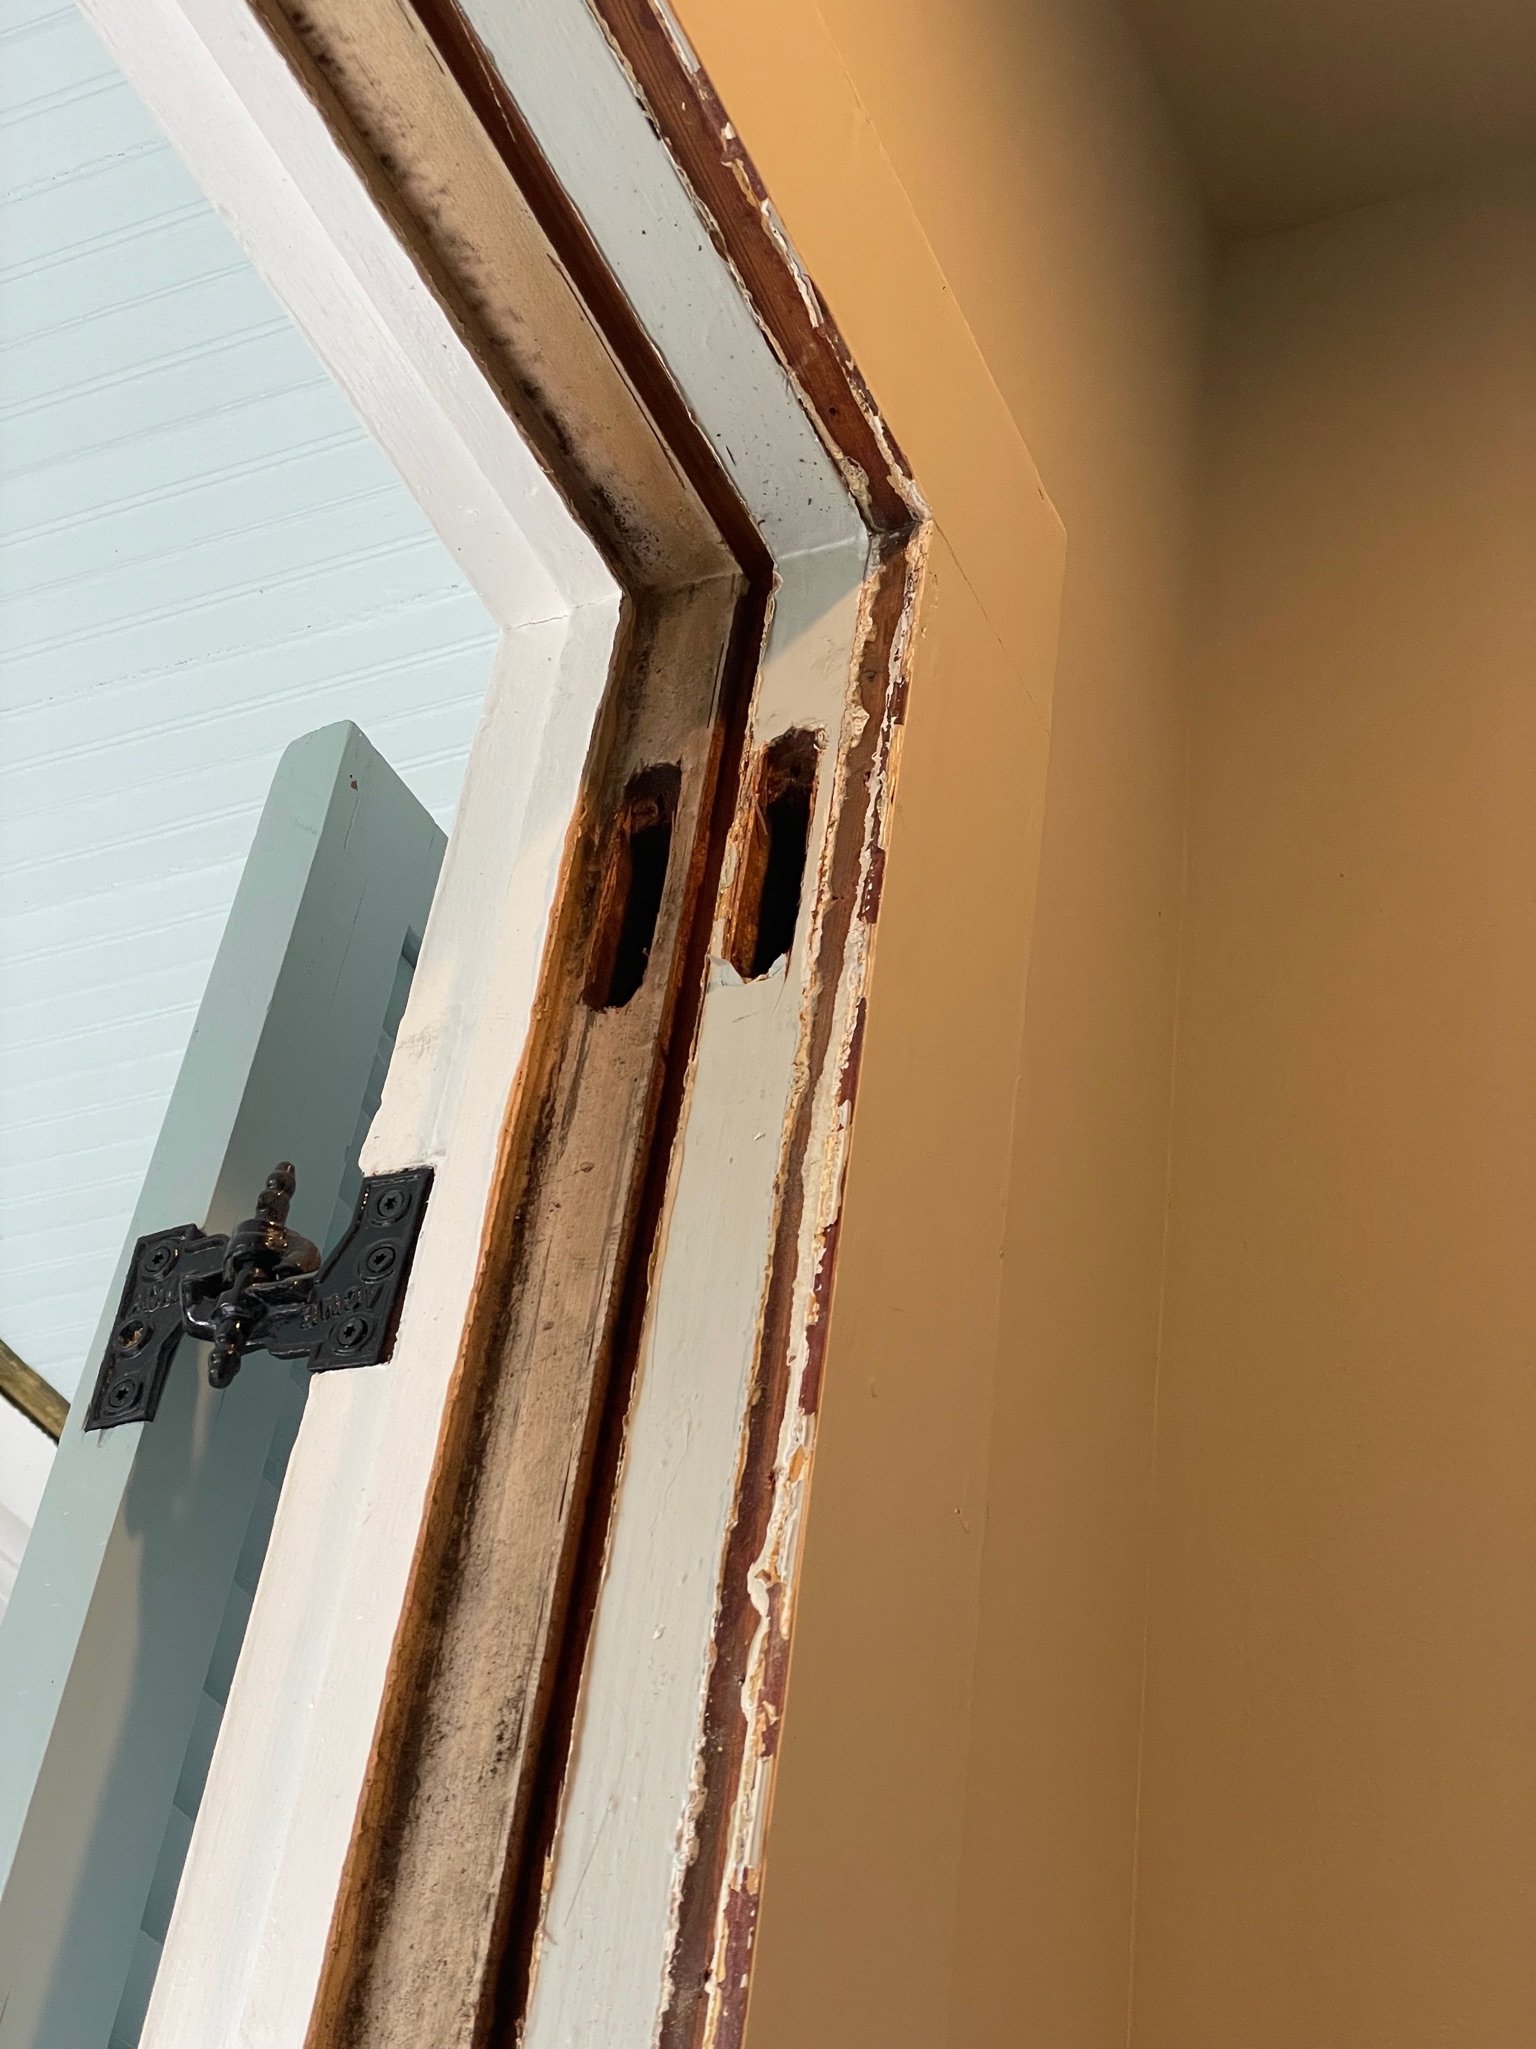
The next task is to remove all paint from the jambs back to bare wood. It's the kind of work that makes one question one's choices in life.

Freeing the upper sash can be the most labour intensive, as the most caulk, paint, and erroneous fasteners are deposited here by decades of cheap solutions.
The jamb restoration process. Following paint scraping, is sanding and priming, which can usually be completed on the day of removal. Sometimes, I'm just too buggered.
If pulleys are being restored, they are removed and taken back to the shop. Utter bastards to remove, they are, but when they go back, they look super duper supreme.
Parting bead and blind stop are commonly trashed during removal. These simple strips of wood are typically covered with too much paint and caulk, are heavily gouged by previously mentioned cheap solutionists, and/or rotted as a result of fallacious practises by said cheap solutionists.

Accessing the weight door for re-roping. Can you feel the anticipation?
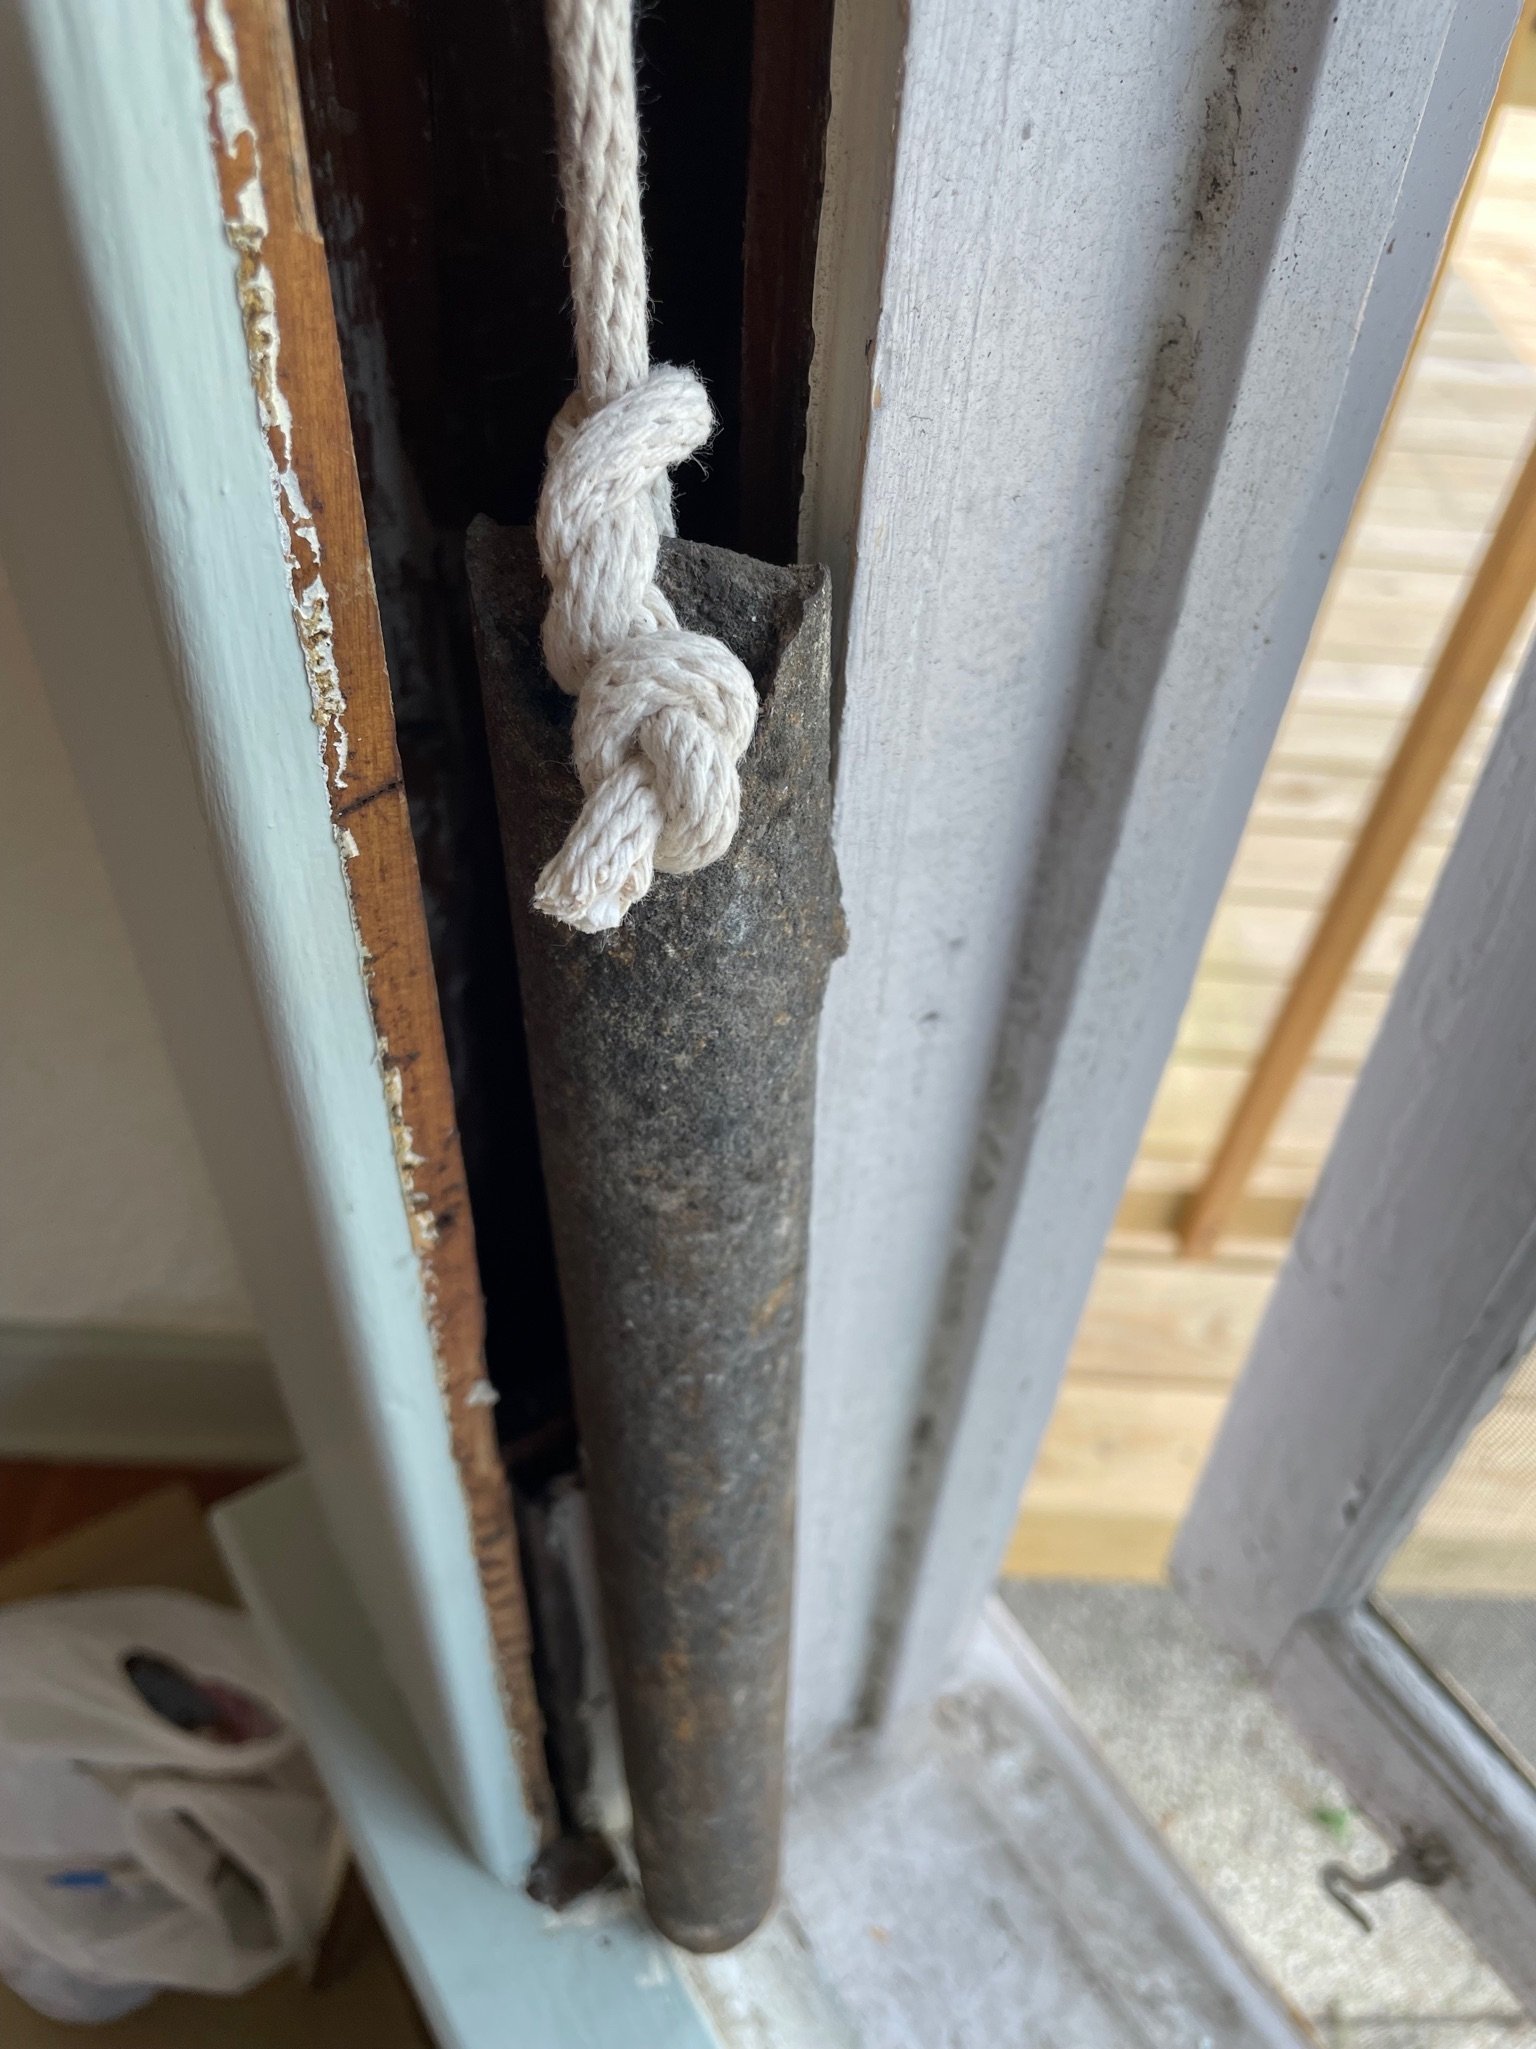
A re-roped weight. Done correctly, not improvised, or with improvised materials.
Installing new blind stop and parting bead. Done right, by a pro.

Accessing the weight door for re-roping. I'm excited.
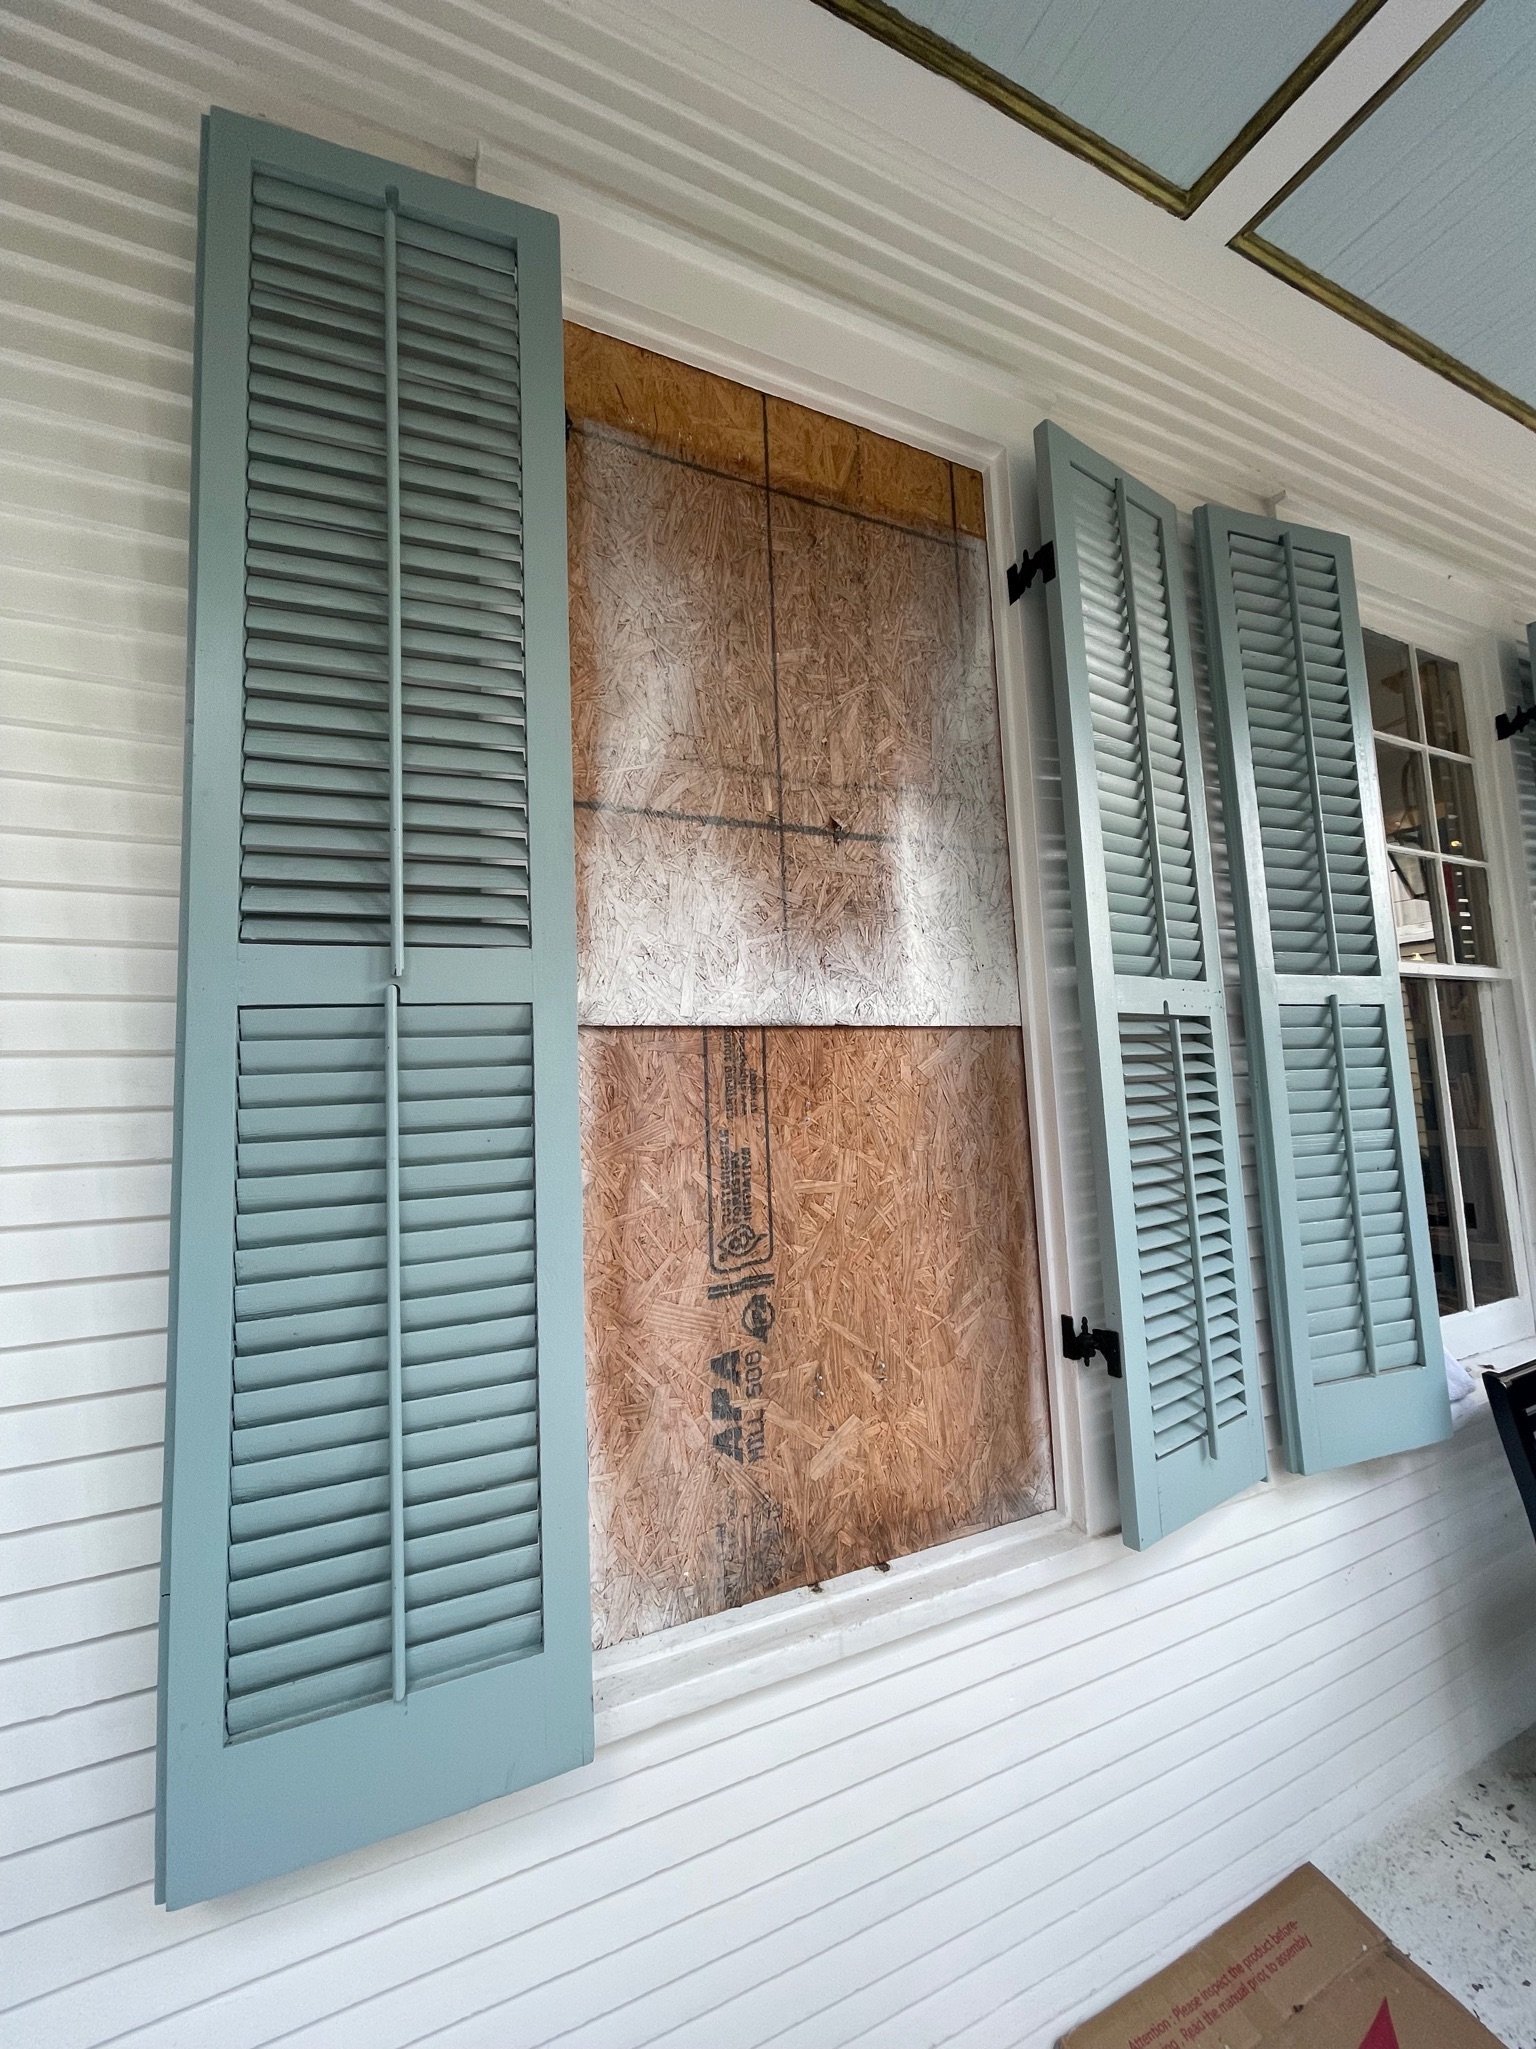
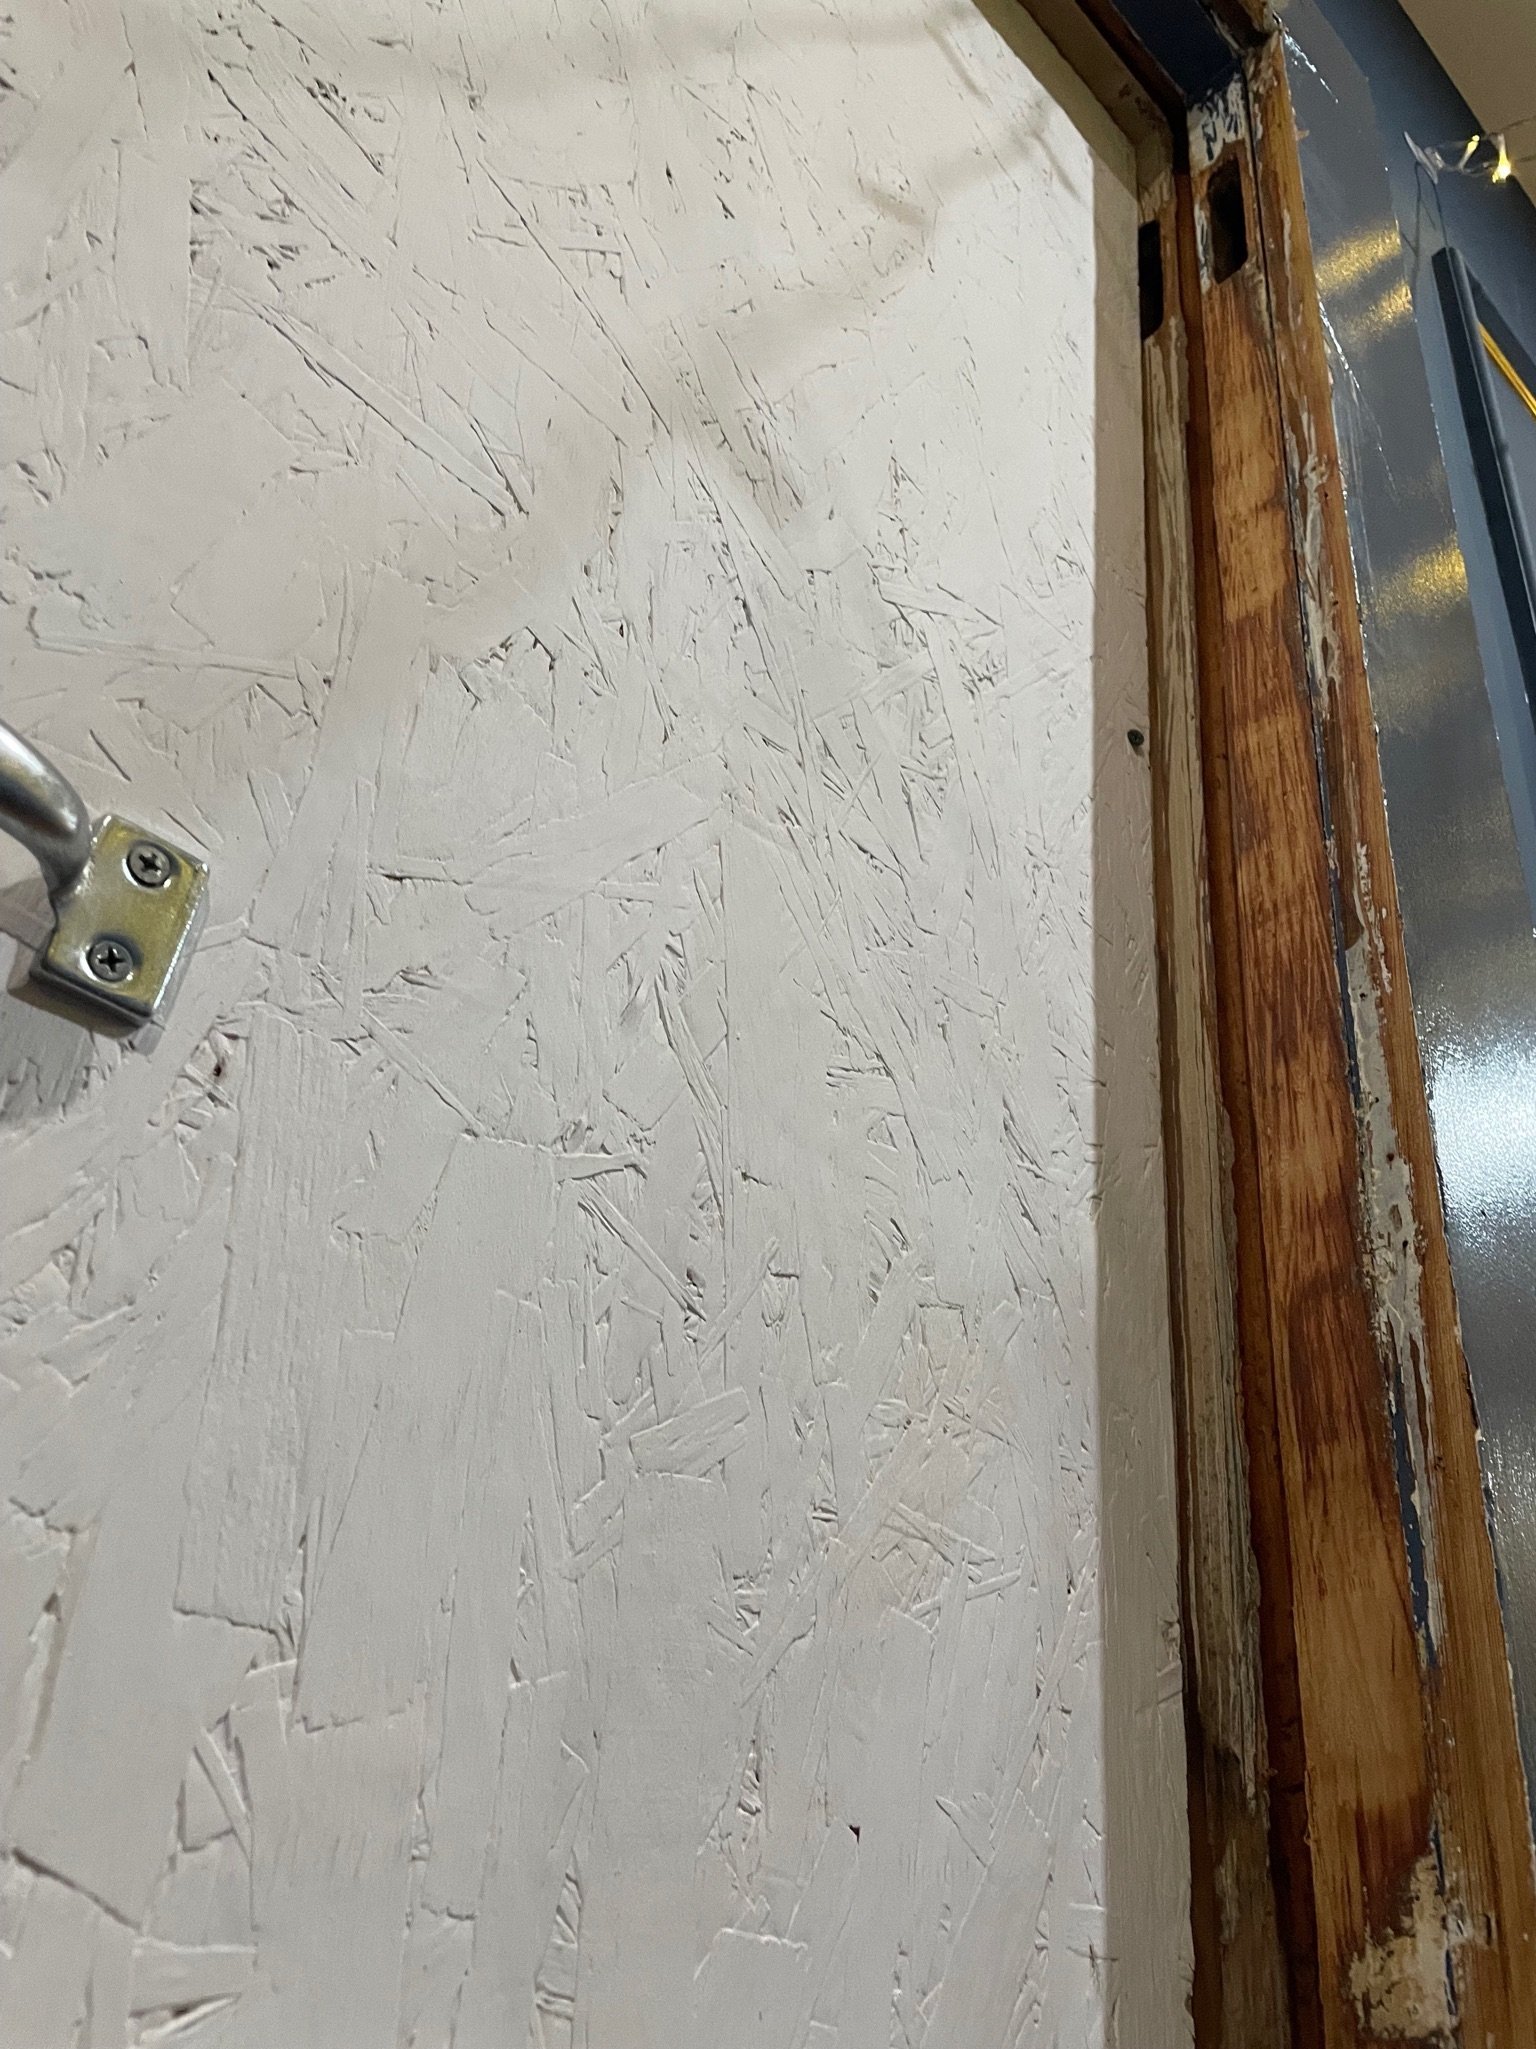
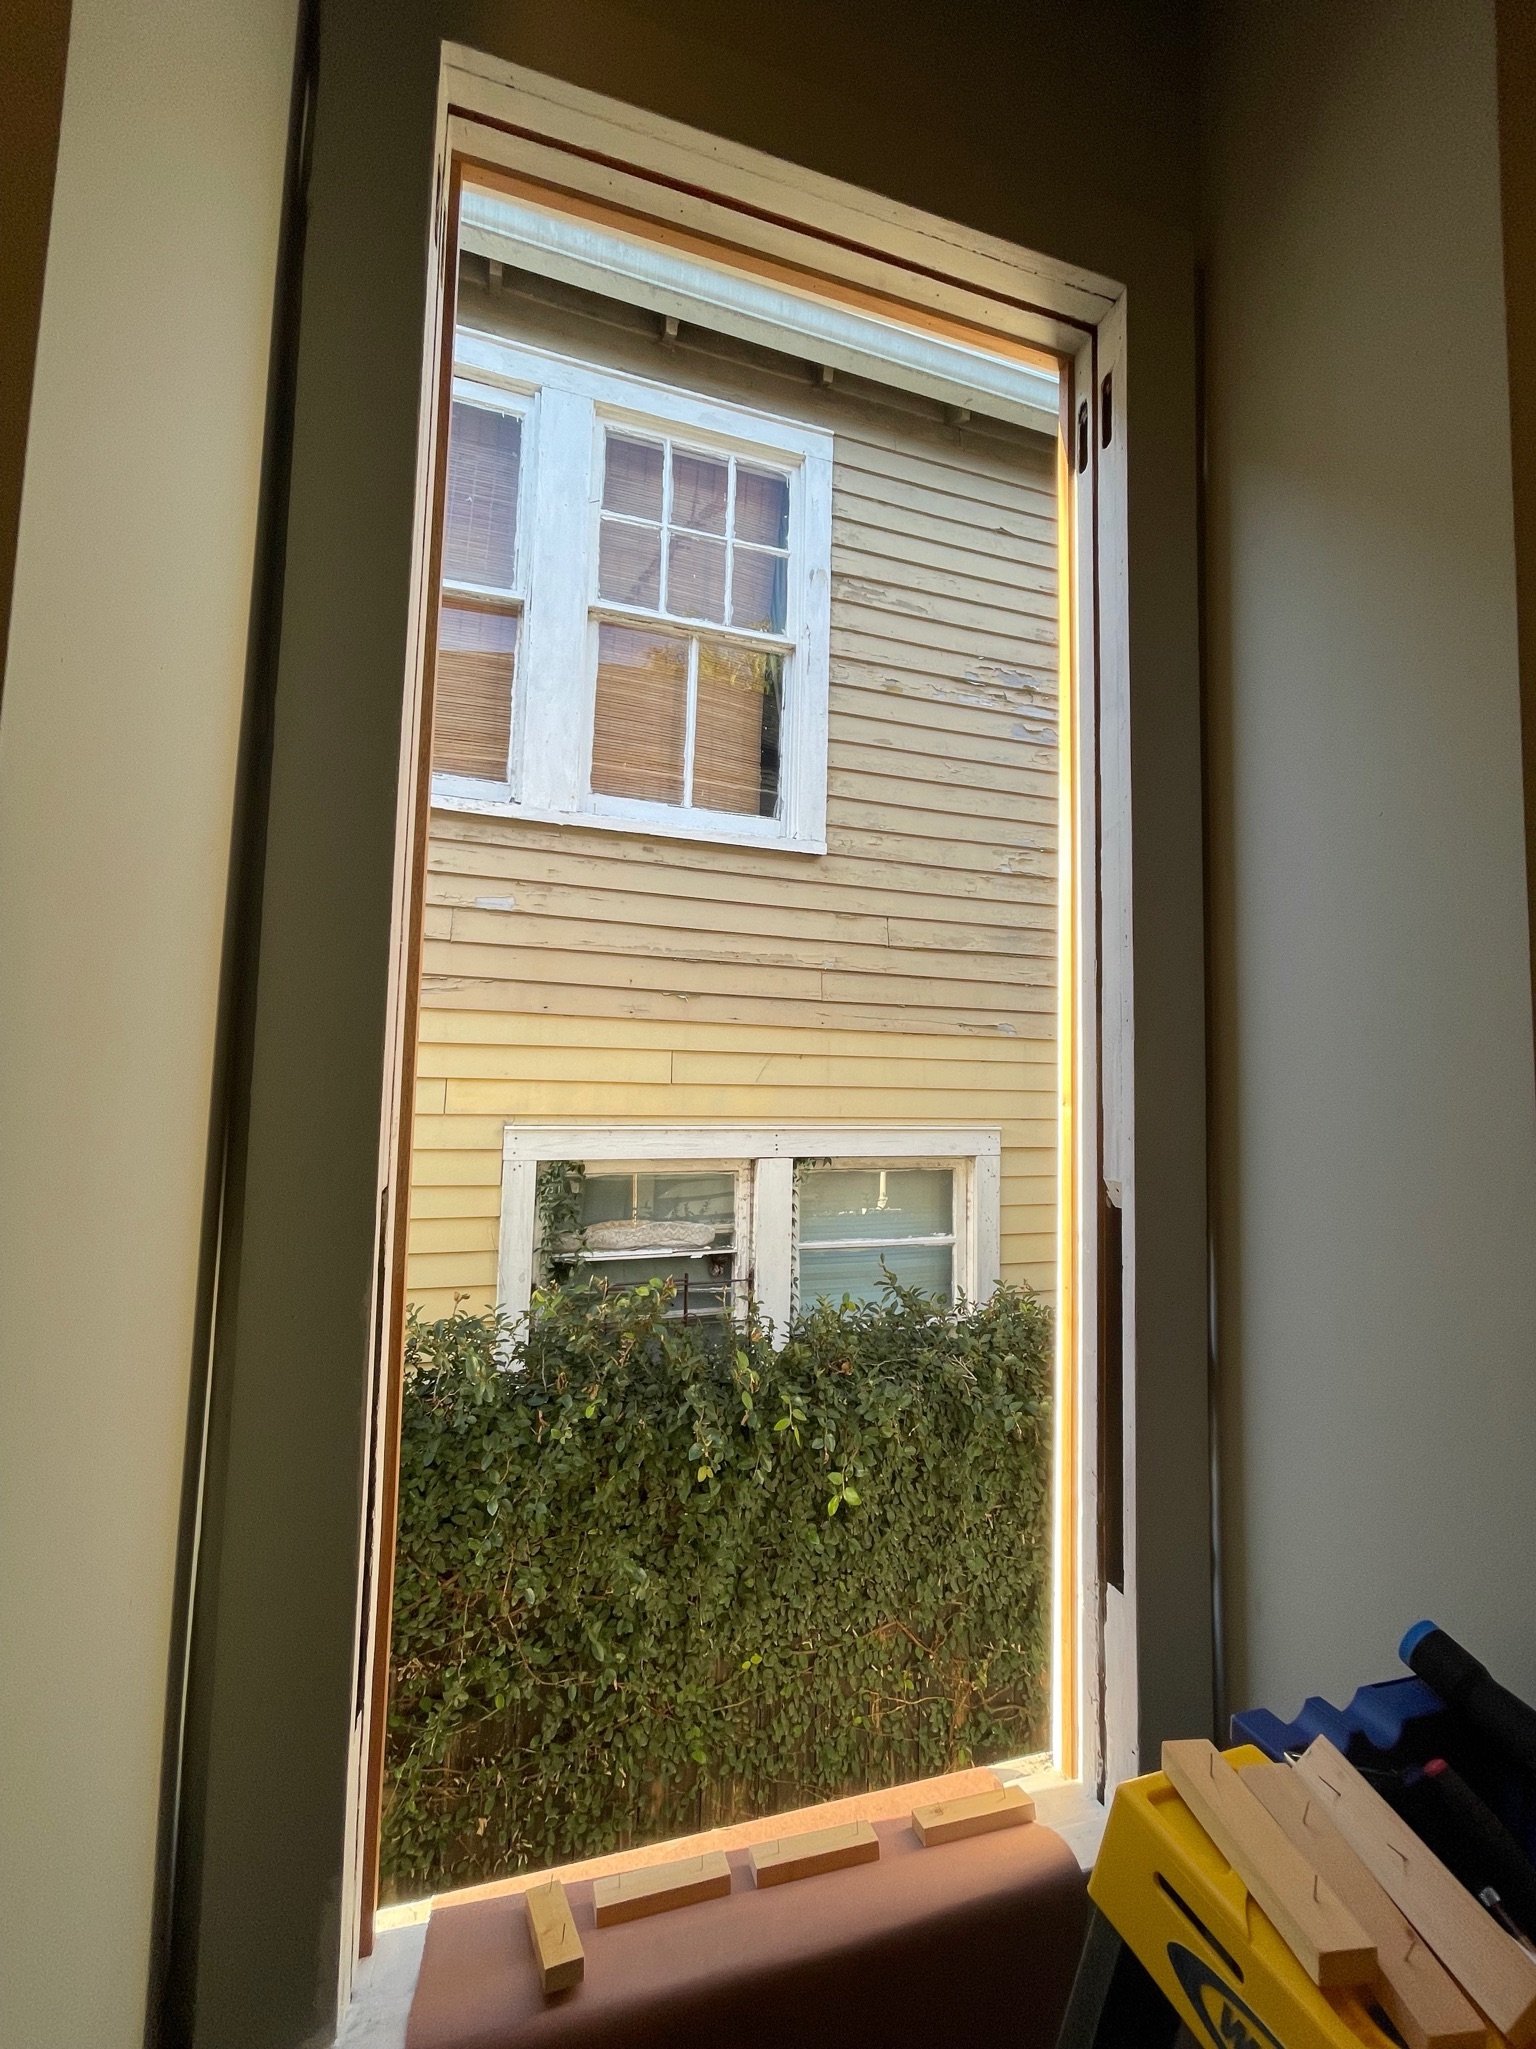
The board up left in place until windows are finished. Not pretty, but better than a gaping hole in your wall for a few weeks.
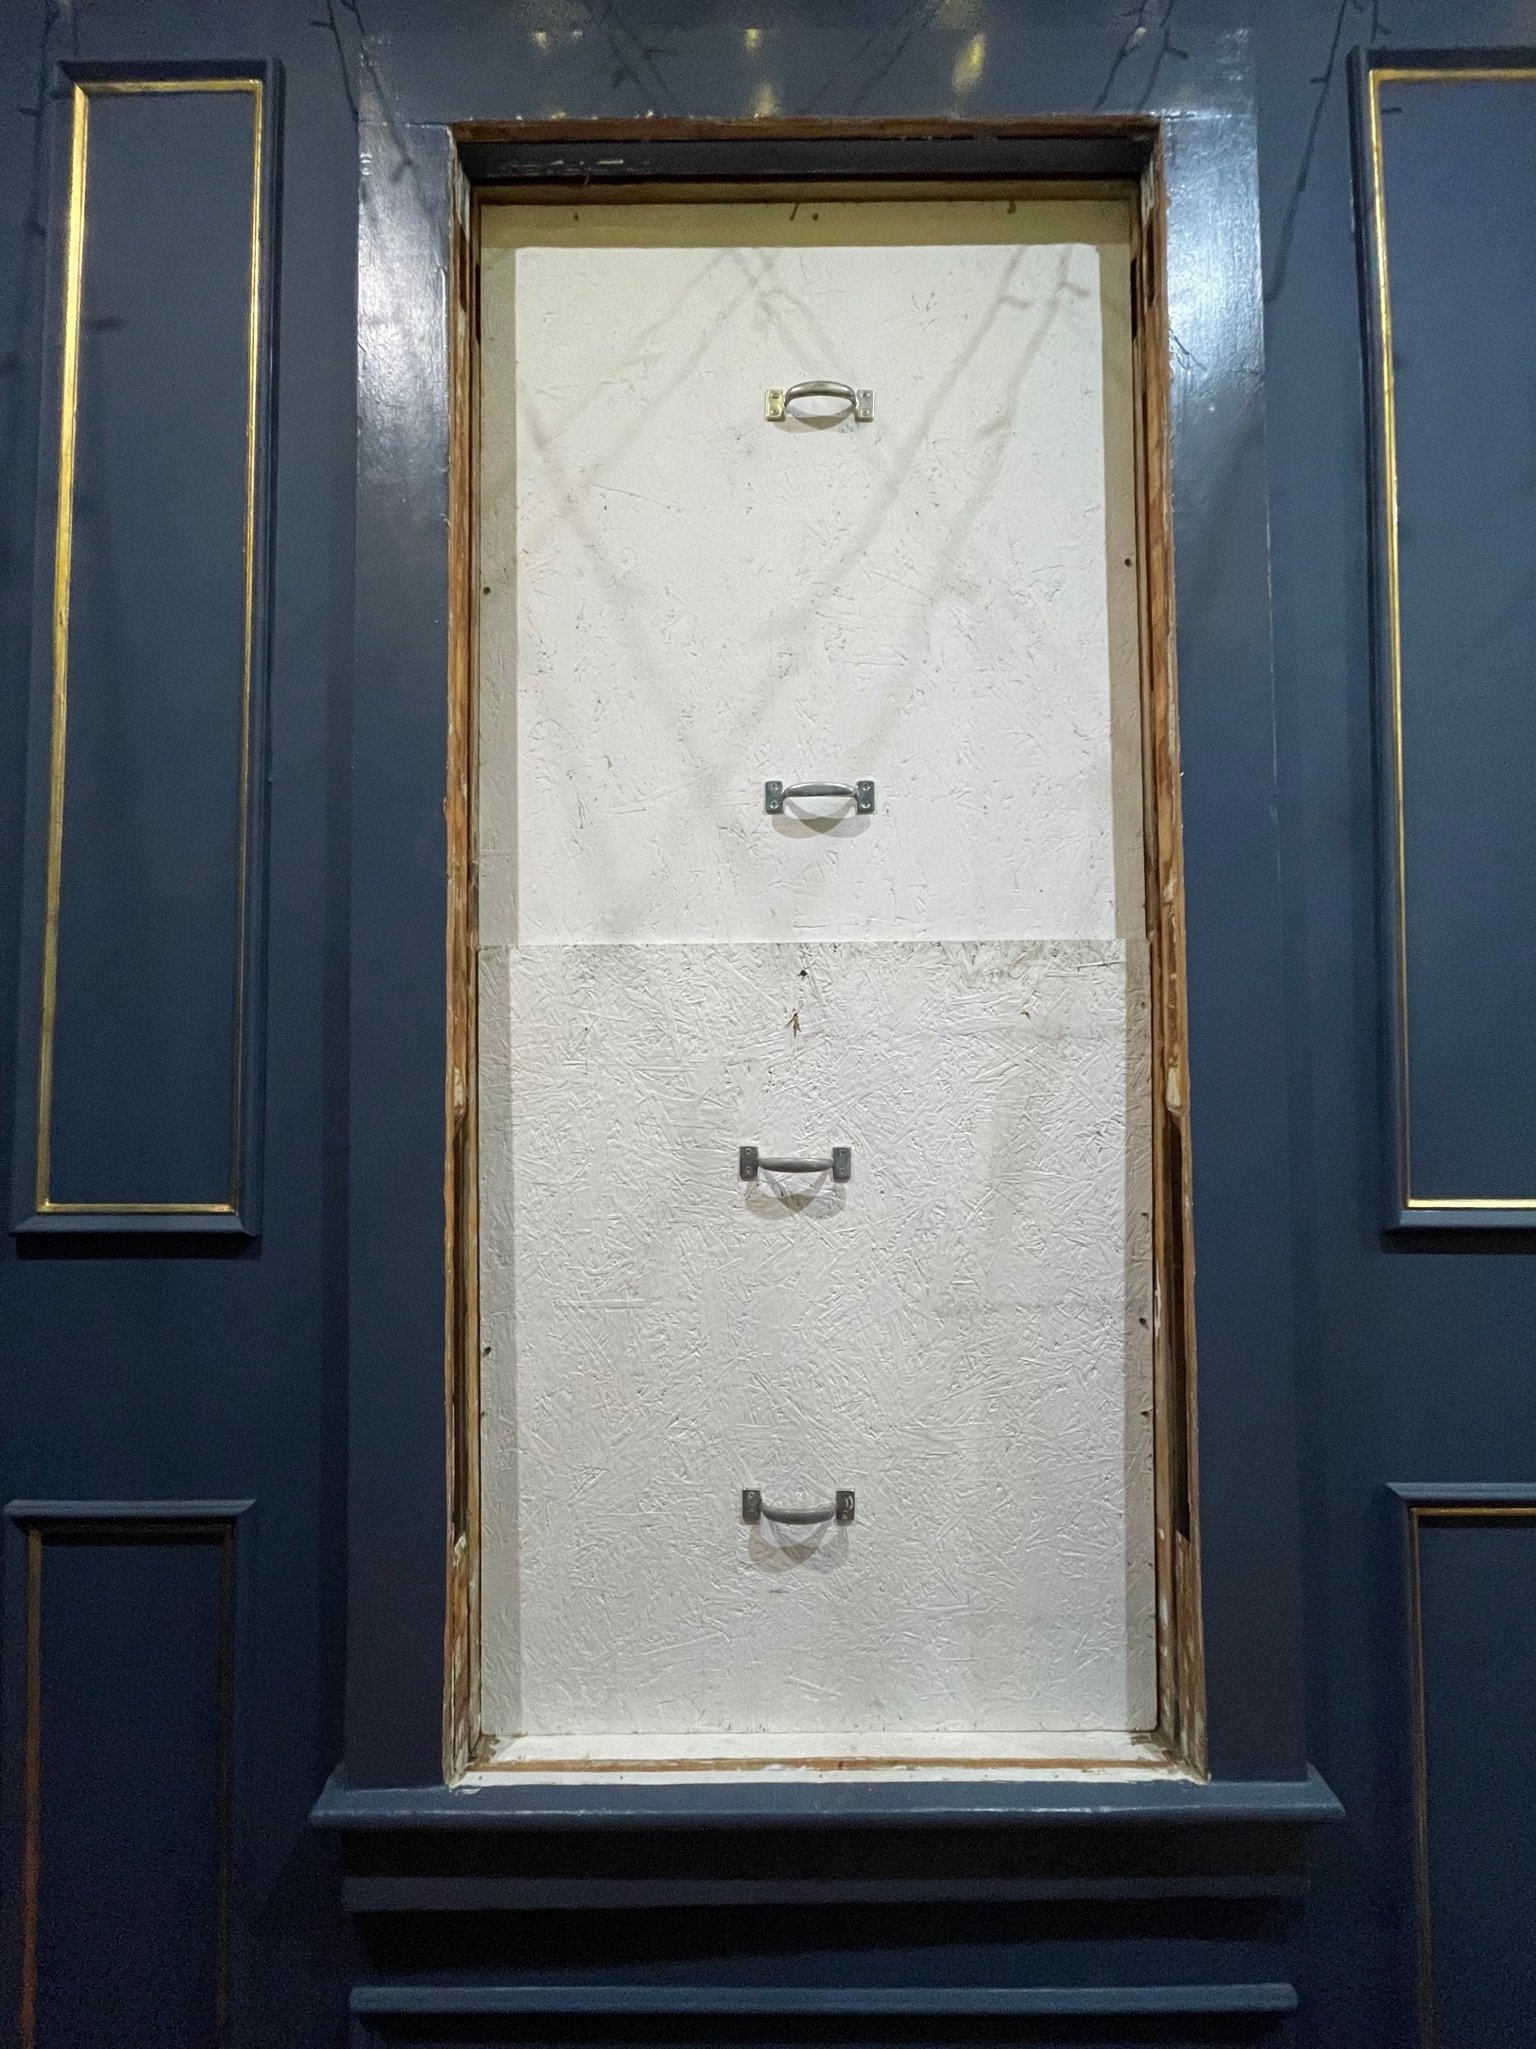
The board up left in place until windows are finished. Interior view. Can you handle it? Yes, four times, you can.

Installing new blind stop and parting bead. Pro work, right there. Too right, mate.